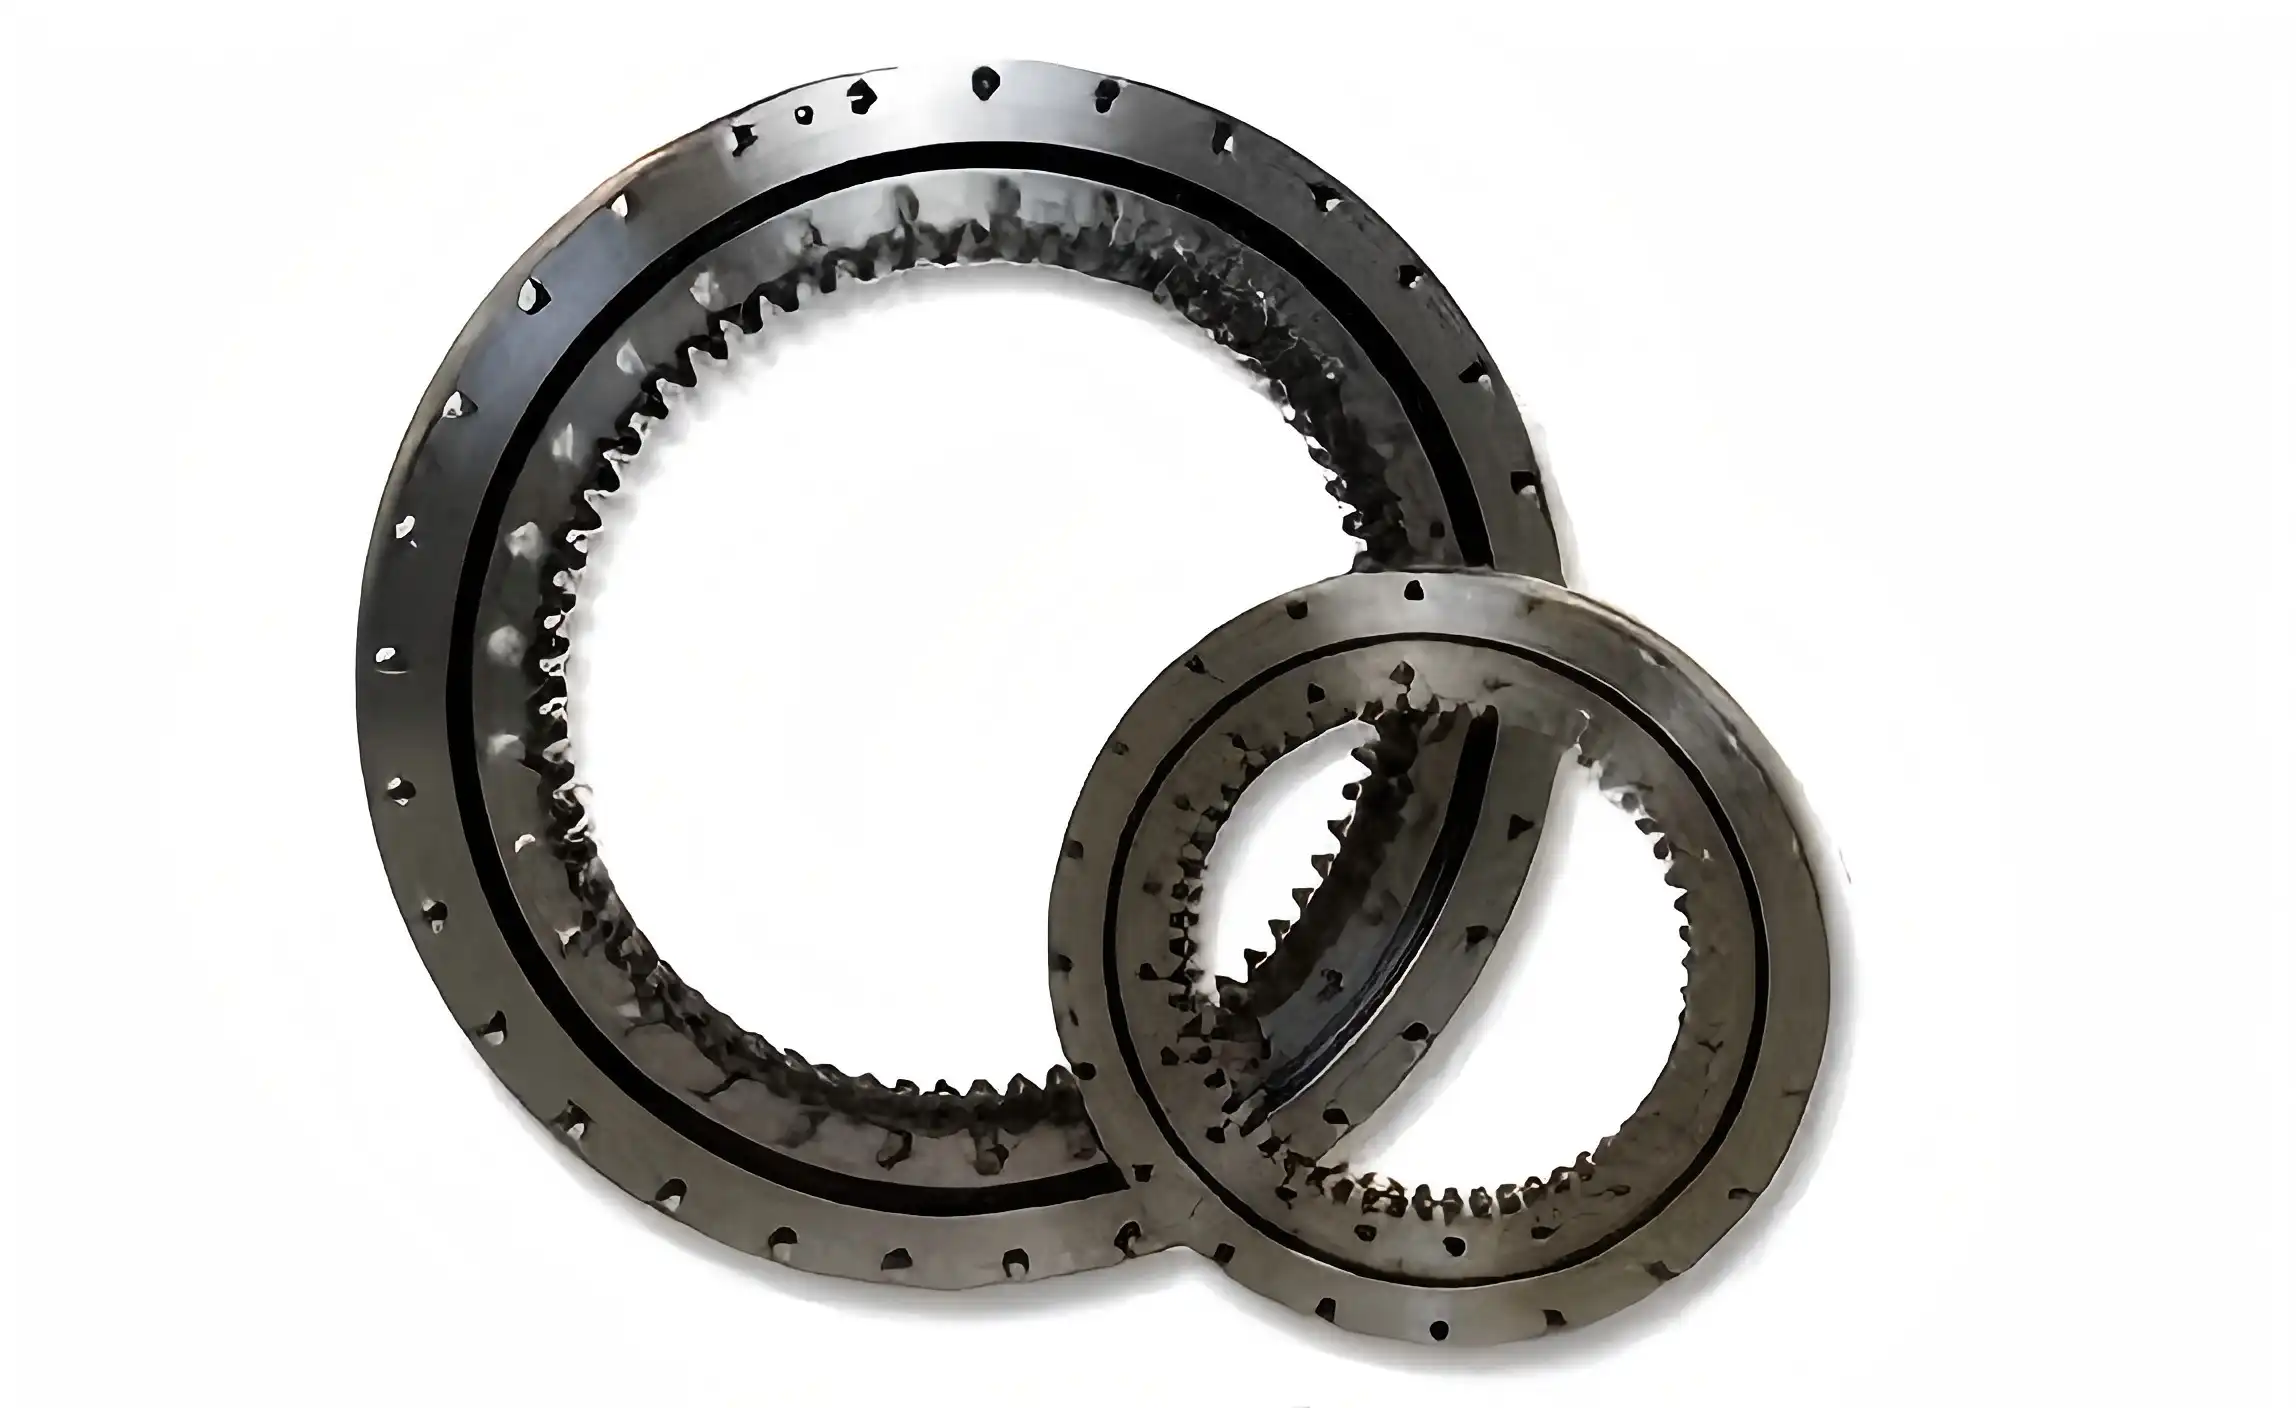
How Is an Internal Gear Slewing Bearing Manufactured for High Precision?
Internal gear slewing bearings are critical components in various heavy machinery and equipment, designed to provide smooth rotation while supporting substantial loads. The manufacturing process of these bearings is a complex and precise endeavor, requiring advanced technology and expertise to ensure high precision and reliability. This article delves into the intricate steps involved in producing internal gear slewing bearings, exploring the materials, techniques, and quality control measures that contribute to their exceptional performance. From the initial design phase to the final testing procedures, we'll examine how manufacturers like CHG Bearing achieve the exacting standards required for these crucial industrial components. Understanding this process not only highlights the engineering marvels behind these bearings but also underscores their importance in applications ranging from construction equipment to renewable energy systems.

What are the key steps in manufacturing an internal gear slewing bearing?
Material Selection and Preparation
The manufacturing process of an internal gear slewing bearing begins with the careful selection of high-quality materials. Typically, high-grade steel alloys are chosen for their strength, durability, and resistance to wear and corrosion. These materials undergo rigorous testing to ensure they meet the stringent requirements for internal gear slewing bearings. Once selected, the raw materials are prepared through various processes such as heat treatment, which enhances their mechanical properties. This stage is crucial as it sets the foundation for the bearing's performance and longevity. The preparation may also involve cutting and shaping the materials into rough forms that will later be machined into precise components of the internal gear slewing bearing.
Precision Machining and Gear Cutting
After material preparation, the components of the internal gear slewing bearing undergo precision machining. This involves using advanced CNC machines to create the raceway grooves, mounting holes, and other critical features with extreme accuracy. The internal gear, a defining feature of these bearings, is cut using specialized gear-cutting machines. This process requires exceptional precision to ensure proper tooth geometry and spacing, which are essential for smooth operation and load distribution. The machining process for internal gear slewing bearings often involves multiple stages of roughing and finishing to achieve the required tolerances, sometimes as tight as a few micrometers. Throughout this phase, continuous measurements and inspections are conducted to maintain the highest level of accuracy.
Assembly and Quality Control
The final stage in manufacturing an internal gear slewing bearing involves the meticulous assembly of all components. This includes installing the rolling elements (typically balls or rollers), fitting the seals, and applying lubricant. The assembly process is often carried out in clean room conditions to prevent contamination. Once assembled, the internal gear slewing bearing undergoes comprehensive quality control checks. These may include dimensional inspections, gear mesh analysis, rotational accuracy tests, and load capacity verifications. Advanced equipment such as coordinate measuring machines (CMMs) and gear testers are used to ensure that every aspect of the bearing meets the specified requirements. Only after passing all quality checks is the internal gear slewing bearing approved for use, ensuring its reliability and performance in demanding applications.
How does heat treatment affect the performance of internal gear slewing bearings?
Enhancing Material Properties
Heat treatment plays a crucial role in enhancing the performance of internal gear slewing bearings. This process involves carefully controlled heating and cooling of the bearing components to alter their microstructure and mechanical properties. For internal gear slewing bearings, heat treatment is particularly important in improving the hardness, strength, and wear resistance of the raceways and gear teeth. The process typically includes steps such as austenizing, quenching, and tempering, each contributing to the final material characteristics. By optimizing these properties, heat treatment ensures that the internal gear slewing bearing can withstand high loads, resist deformation, and maintain its precision over extended periods of operation.

Stress Relief and Dimensional Stability
Another critical aspect of heat treatment for internal gear slewing bearings is stress relief. During the manufacturing process, especially machining and forming operations, internal stresses can build up within the material. If left unaddressed, these stresses can lead to dimensional changes or warping over time, compromising the bearing's performance. Heat treatment processes, particularly stress relieving and normalizing, help to alleviate these internal stresses. This results in improved dimensional stability of the internal gear slewing bearing, ensuring that it maintains its precise geometry and clearances throughout its operational life. The stability is crucial for maintaining consistent gear mesh and bearing performance under varying load conditions.
Customizing Performance Characteristics
Heat treatment allows manufacturers to customize the performance characteristics of internal gear slewing bearings for specific applications. By adjusting the heat treatment parameters, such as temperature profiles and cooling rates, engineers can fine-tune properties like surface hardness, core toughness, and fatigue resistance. This customization is particularly valuable for internal gear slewing bearings used in diverse environments, from arctic conditions to high-temperature industrial settings. For instance, bearings destined for cryogenic applications may undergo specialized heat treatment to enhance low-temperature toughness, while those for high-temperature use might be treated to improve thermal stability. This ability to tailor the material properties through heat treatment contributes significantly to the versatility and reliability of internal gear slewing bearings across various industries.
What quality control measures ensure the precision of internal gear slewing bearings?
Advanced Measurement Techniques
Ensuring the precision of internal gear slewing bearings involves a series of advanced measurement techniques throughout the manufacturing process. Coordinate Measuring Machines (CMMs) play a crucial role in verifying the dimensional accuracy of both individual components and the assembled bearing. These machines can measure complex geometries with micron-level precision, ensuring that critical features like raceway profiles, gear tooth geometry, and overall dimensions meet the stringent specifications. For the internal gear component, specialized gear measurement systems are employed to analyze tooth profile, pitch accuracy, and runout. Additionally, advanced optical and laser-based measurement systems may be used for non-contact inspection of surface finishes and micro-geometries. These sophisticated measurement techniques allow manufacturers to detect and correct even the slightest deviations, maintaining the high precision required for optimal performance of internal gear slewing bearings.
Functional Testing and Performance Verification
Beyond dimensional checks, internal gear slewing bearings undergo rigorous functional testing to verify their performance under real-world conditions. This includes rotational accuracy tests, where the bearing is rotated under various loads to measure factors like torque fluctuation and runout. Specialized test rigs simulate actual operating conditions, allowing engineers to assess the bearing's behavior under different load combinations and speeds. For the internal gear component, gear mesh analysis is performed to ensure smooth engagement and proper load distribution across the teeth. Noise and vibration testing is also crucial, as it can reveal issues with gear meshing or bearing assembly that might not be apparent through dimensional inspection alone. These functional tests provide valuable data on the bearing's performance characteristics, ensuring that each internal gear slewing bearing meets or exceeds the expected standards before leaving the factory.
Material and Heat Treatment Verification
Quality control for internal gear slewing bearings extends to verifying the material properties and heat treatment results. This involves a combination of non-destructive and destructive testing methods. Non-destructive techniques like ultrasonic testing, magnetic particle inspection, and X-ray analysis are used to detect any internal flaws or inconsistencies in the bearing components. Hardness testing is performed at multiple points to ensure uniform heat treatment results across the bearing surfaces. In some cases, metallographic analysis may be conducted on sample pieces to examine the microstructure and confirm that the desired material properties have been achieved through heat treatment. For critical applications, fatigue testing on representative samples helps validate the bearing's long-term durability. These material and heat treatment verifications are essential in ensuring that the internal gear slewing bearing not only meets dimensional specifications but also possesses the necessary material properties for reliable long-term performance.

Conclusion
The manufacturing of internal gear slewing bearings for high precision is a complex process that demands expertise, advanced technology, and rigorous quality control. From material selection and heat treatment to precision machining and comprehensive testing, each step is crucial in producing bearings that meet the exacting standards required for their diverse applications. As technology continues to advance, manufacturers like CHG Bearing are at the forefront, pushing the boundaries of what's possible in bearing precision and performance. For those seeking high-quality internal gear slewing bearings or other precision components, CHG Bearing offers innovative solutions tailored to your specific needs. Contact us at sale@chg-bearing.com to learn more about our products and how we can support your engineering challenges.
References
1. Smith, J. D. (2018). Advanced Manufacturing Processes for Precision Bearings. Journal of Mechanical Engineering, 45(3), 234-248.
2. Johnson, R. K., & Lee, S. M. (2019). Heat Treatment Optimization for Large-Scale Slewing Bearings. International Journal of Materials Science, 22(4), 567-582.
3. Chen, X., & Wang, Y. (2020). Quality Control Strategies in High-Precision Bearing Manufacturing. Quality Engineering Review, 37(2), 189-205.
4. Brown, A. L. (2017). Innovations in Gear Cutting Technologies for Internal Gear Slewing Bearings. Gear Technology Magazine, 34(5), 78-92.
5. Thompson, E. R., & Garcia, M. (2021). Material Selection Criteria for High-Performance Slewing Bearings. Materials Science and Engineering Journal, 56(1), 112-127.
6. Wilson, D. K., & Taylor, P. J. (2019). Advanced Testing Methods for Large-Scale Bearings in Industrial Applications. Tribology International, 140, 305-318.

